
-
-
-
-
-
-
-
Italian seasoning
0.75 tsp
-
Mozzarella cheese
0.5 cup, shredded
-
Mozzarella cheese
0.5 cup, shredded


-
Step 1
Remove ground Italian sausage from their casings if they have any. Add the raw, ground sausage to a skillet on the stove over high heat and break it up with a wooden spoon. Cook the sausage while breaking it up into crumbly pieces until it’s cooked through. Then, you’ll need to leave the skillet aside to cool down a little. Now, turn on the oven to preheat to 350 F (180 C) and grab an 11×7 glass baking dish.
-
Step 2
Cut the slices of Keto bread into cubes – approximately 16 pieces per slice of bread. Arrange the bread cubes at the bottom of the glass dish. Pour the tomato sauce over the bread cubes, then stir the ingredients together in the dish until the bread has absorbed all of the sauce. Use the back of your wooden spoon to gently press the saucy bread cubes down so they fill the base of the dish without leaving any bare spaces. You need the bread to be a little dense.
-
Step 3
Sprinkle salt, black pepper, garlic powder, and Italian seasoning across the top of the bread cubes. Sprinkle the first amount of mozzarella cheese over the layer of bread. Follow by making a layer with all the crumbled Italian sausage. Sprinkle the final amount of mozzarella cheese over the crumbled sausage. Cover the dish with aluminum foil.
-
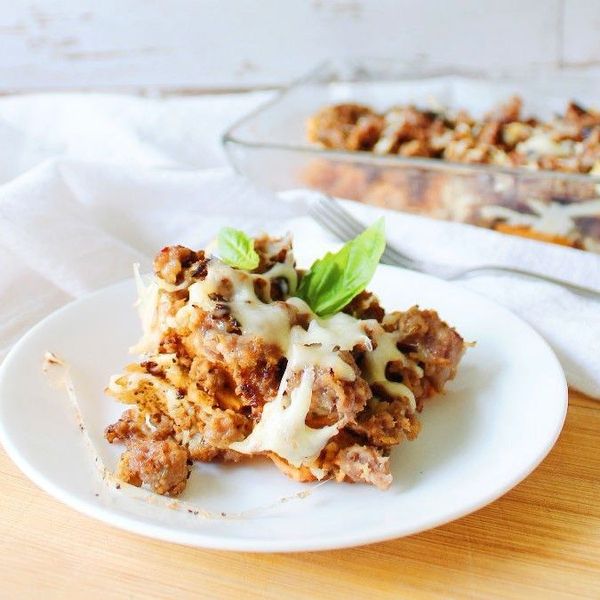
Step 4
Place the covered dish in your oven. Bake the dish for approximately 25 minutes. The melted cheese should have helped adhere all the bread cubes together as they heated in the oven. After cooling the casserole for just 5 minutes, slice it into squares. Use a spatula or spoon to serve the Italian casserole slices with a little basil or parsley for garnish.